3 Point Lighting Setup
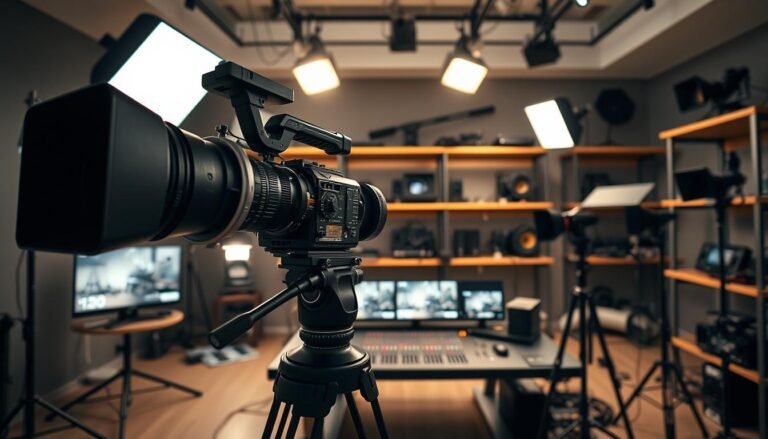
We introduce a clear, practical guide to the classic three-point lighting method and what it can deliver for our shoots. This approach uses a key light, a fill light, and a backlight to shape the subject, control shadows, and add depth for video, film, or photography.
We will set expectations for the workflow: prep the space, place each light in turn, then refine brightness, angle, and color. That makes every decision intentional instead of trial and error.
For creators on YouTube-style talking heads, interviews, product clips, and live streams, good lighting is the fastest way to lift perceived production value. We aim for visible facial detail, softer shadows, and clean subject separation that repeats across sessions.
Throughout this guide we keep things practical. You do not need a large studio, only enough room to position lights a few feet from the subject to avoid hard edge shadows. Later sections will show step-by-step techniques so we can reproduce the results reliably.
What Three-Point Lighting Is and Why It Works
Using three separate light sources, we can model a subject so faces and edges read clearly on camera. This approach assigns a clear role to each lamp so the lights work together rather than fight for the same job.
At its core, three-point lighting uses a key, a fill, and a backlight to shape height, width, and depth in a single frame. The key shapes the face and sets mood. The fill softens or preserves shadow detail. The backlight creates separation so the person does not blend into the backdrop.
When we balance angle and intensity between these sources, the result is measurable depth. That control makes a scene look more cinematic or more polished, depending on choices we make. The relationship — placement plus intensity — is what delivers the final effect, not just buying brighter lamps.
- When to use it: talking-head videos, interviews, product demos, live streaming, and corporate shoots that need repeatable results.
- Practical example: in a basic room with a simple backdrop, this method gives a professional shot by controlling highlights and shadow edges.
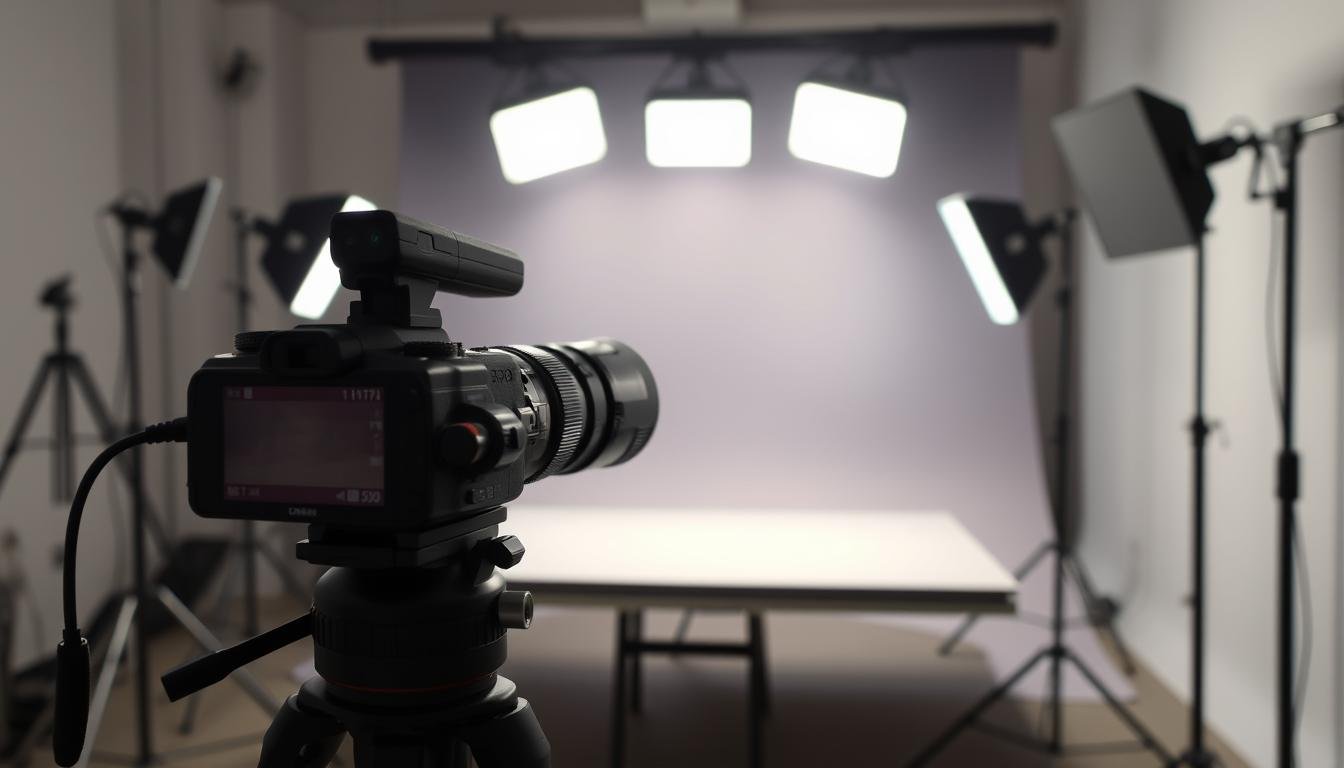
Before We Start: Gear, Space, and a Quick Lighting Checklist
Before we flip a switch, we gather gear and plan the room so our results are consistent and easy to repeat.
Choose fixtures that let us control brightness and color temperature. Variable controls help match ambient tones and keep skin tones steady on camera. Avoid mixing different bulb types; mismatched color can force tedious fixes in post.

Choosing controllable sources
Pick lights with dimmers and color control so we can tune mood and match the room. Stable stands and good cable management keep the shoot safe and efficient.
Picking the room and background
White walls act as natural bounce. A plain backdrop reduces distractions. A green screen works best when the subject is evenly lit and separated from the background.
Planning distance and placement
Keep lights a few feet from the subject to soften shadow edges. Plan camera-to-subject and subject-to-background distance so shadows don’t spill onto the backdrop.
- Quick checklist: controllable brightness, matched color temperature, stable stands, cable plan.
- Mark positions with gaffer tape for repeatability so the same look is easy to recreate.
3 Point Lighting Setup: Step-by-Step Placement
First, we place the primary light that becomes the visual anchor for the scene. This defines exposure and the direction of shadows on the subject.
Setting the key light as our primary source
We set the key light in front and slightly to one side. A 45° baseline works well, with a practical angle range from about 15° to 70° to suit the subject face.
Adding the fill light opposite the key
Next, we add the fill light on the opposite key side, dimmer than the key to preserve depth. Match or shift the fill angle for a symmetric corporate look or more contrast for cinematic mood.
Placing the backlight and fine-tuning
We place the back behind subject, a bit elevated, to create a rim light on hair and shoulders. Start about 3 feet from the subject and move lights back or closer to soften or sharpen shadow edges.
Once the camera view looks right, we lock stand heights and mark floor positions with gaffer tape. That makes the light setup repeatable across shoots.
| Role | Placement | Effect |
|---|---|---|
| Key light | Front, slightly to side (≈45°) | Main exposure; sculpts face and shadows |
| Fill light | Front, opposite key, dimmer | Softens shadows; controls contrast |
| Back / rim | Behind subject, raised | Separates subject from background |
Key Light Techniques for a Clean, Professional Look
The key light defines the face and mood of the frame, so we treat it as our creative anchor.

We pick the smart side—the side of the face turned slightly away from the camera—so the key sculpts cheek and jaw without flattening features. Placing the key on that side gives the face pleasing shape while the fill eases the camera-facing side.
Finding the smart side and shaping main shadows
We watch cheek, nose, and jaw shadows and nudge angle or height until those shadows read as intentional. Small moves change the whole shot, so we adjust one variable at a time while viewing the camera feed.
Soft key vs. hard key and the mood it creates
A soft key wraps light and reduces harsh transitions, which suits corporate interviews and friendly video. A harder key yields crisp shadows for narrative film or moody scenes.
| Modifier | Effect | Common use |
|---|---|---|
| Diffusion / softbox | Gentler shadows, even look | Corporate video, talking heads |
| Bare or small source | Sharp shadows, high contrast | Dramatic film, stylized shots |
| Bounce / large surface | Wrapped light, natural feel | Interviews, product video |
Our execution rule: tweak angle, height, intensity, or softness one at a time and judge on camera. That disciplined approach keeps changes predictable and the final look professional.
Fill Light Control: Ratios, Intensity, and Shadow Detail
Adjusting fill intensity gives us precise control over midtones and shadow texture on camera. We use the fill light to keep facial detail without flattening the image. Small changes in brightness or placement change the mood immediately.
Common intensity targets
As a starting rule, set the fill at about 50–75% of the key light. That range preserves cheek and eye detail while keeping depth. A 1:1 match will look flat; avoid it for most videos.
Understanding key-to-fill ratios
A 2:1 key-to-fill ratio means the key light is roughly twice as bright as the fill. That baseline reads cinematic but natural. For corporate interviews we aim near 1.5:1 to soften contrast and make the look more inviting.
Lower fill for cinematic effect
Dropping fill to ~25–45% deepens shadows and increases drama. Watch the shadow side of the face on the monitor to keep important detail in eyes and cheeks. Prevent a second shadow by checking fill placement and diffusion.
- Control methods: dim the fill, move it back, add diffusion, or bounce from a surface.
- Evaluate changes on camera and lock positions once the effect reads well.
Backlight and Background Separation Without Glare or Spill
Our goal here is to show how a rim light can outline a subject cleanly while keeping the background controlled.
We place the backlight behind and slightly above the subject so it skims hair and shoulders. This creates a crisp rim light edge that separates the subject from the background without brightening the whole scene.

Where we place rim light for a crisp outline
Position the light just out of frame and raise it until it highlights hair and the shoulder line. Move it in small steps while watching the camera feed so the rim hugs the subject without crossing into the lens.
How we prevent glasses glare and hotspots
To avoid glare, tilt the light and raise its height so reflections bounce above or to the side of the camera. Add diffusion or reduce intensity to remove bright rectangles in lenses.
When adding a background light becomes a four-point approach
If we add a dedicated light for the wall or backdrop, we move into a four-point arrangement. Use a low-intensity background light to create a subtle gradient or to highlight a logo. Keep that light dimmer than the key so the subject remains the focus.
| Task | Placement | Tip |
|---|---|---|
| Rim / backlight | Behind subject, elevated | Skim hair; avoid lens flare |
| Glare control | Angle up or sideways | Use diffusion; check reflections on camera |
| Background light | Aimed at backdrop | Create gradient; keep lower than subject lights |
Adjustments That Actually Change the Look
When we change how a light behaves, the whole image responds differently. Small choices—softening, lowering output, or shifting distance—alter shadow edges, falloff, and background exposure.
Diffusing, dimming, or moving a source
Diffusion makes a source larger and softer. That smooths skin and reduces sharp shadow edges. It often improves talking-head and interview shots.
Dimming lowers output without moving the lamp. We keep framing and angle while refining exposure on camera.
Moving a light farther changes falloff. The background gets darker and hotspots shrink, but shadows grow sharper as the apparent source size shrinks.
Bounce, flags, and working with the sun
Reflectors and bounce add gentle fill without adding a second shadow pattern. In small studios this is a clean way to lift midtones.
Flags, barn doors, and cutters block spill and protect the background. They let us keep separation without glare or flare.
The sun can act as key, fill, or backlight. We shape it with diffusion, reflectors, and negative fill to get a three-source result outdoors.
| Adjustment | What it changes | Best use |
|---|---|---|
| Diffusion | Softness, shadow edge | Interviews, soft portraits |
| Dimming | Overall exposure, same falloff | Fine-tuning on camera |
| Distance | Falloff, background level | Control hotspots; separate subject |
| Bounce / reflectors | Gentle fill without extra sources | Tight rooms, natural look |
Bring It All Together for Your Next Shoot
Now we tie the steps together so our next session becomes predictable, fast, and camera-ready.
Start with the key, add the fill to control shadow detail, then place the backlight for clear separation. Refine with distance, diffusion, and flags until the subject reads well on the camera.
Document key-to-fill ratios, approximate angles, and stand distances. Mark positions with gaffer tape so the same setup is simple to rebuild for interviews, product work, or live streams.
Before recording, confirm exposure on the subject, check the background isn’t competing, and remove glare or hotspots. Adjust one light at a time and re-check the frame.
Use this brief guide as your example-driven checklist. Keep roles consistent and tweak ratios and softness to match the intended style.