How to Make Motion Graphics
We’ll open with what this guide means in real marketing and design work. We explain what we can produce by the end and who benefits most: marketers, designers, content teams, and small businesses.
Expect clear timelines. Simple clips can take a few hours, while larger projects need days or weeks. We show how scope affects cost and how in‑house tools lower expenses.
We outline a repeatable process: pre‑production planning, asset design for movement, tool selection, animating with a steady workflow, and exporting for each channel.
This guide is broken into eight sections so we can jump to the stage we need and still see how each step links forward.
We’ll point you toward beginner tutorials and templates that let us get started without prior animation experience. With practice and the right workflow, we can reuse these steps on future projects.
What Motion Graphics Are and Why We Use Them in Marketing, Design, and Media
This section explains what visual designs with motion are and where they matter most.
We define motion graphics as graphics with motion: animated designs that use text, shapes, and visual elements to share information. These are created in software and differ from character-led animation. Often they focus on pattern, data, and titles rather than long-form narrative.

Where they appear today: social media clips, website UI (loading icons, animated infographics), TV lower thirds, ads, title sequences, and retail screens. Movement guides attention and clarifies the story beats. That makes content easier to remember and more engaging than static art in many settings.
| Format | Common use | Marketing benefit |
|---|---|---|
| Title sequences | TV, web videos | Sets tone quickly |
| Explainer clips | Social media, websites | Improves information retention |
| UI micro-animations | Apps, websites | Boosts usability and attention |
| Bumpers & ads | Broadcast, pre-roll | Increases brand recall |
Adoption benchmarks remind us why we invest here: 86% of brands use videos on websites and 77% use videos on social media. We can repurpose a single animated asset across channels, which saves time and strengthens brand consistency.
How to Make Motion Graphics for Any Project: Our Pre-Production Checklist
Before we design a single frame, we set clear goals so every visual move supports the intended outcome. That discipline keeps the story tight and the final content efficient for marketing and product use.

Define goal and audience
We list the objective (awareness, education, UX) and define the viewer. This guides pacing, text density, and which elements grab attention.
Script and story beats
We write a short script or outline with a hook, three key points, and a CTA. Voice-over, music, and timings belong here so the design matches the audio plan.
Storyboard timing and on-screen text
We sketch frames and note timing, transitions, and how long each text block stays readable. This prevents clutter and improves composition on small screens.
- Choose format: social, explainer, title, or UI option.
- Build a mini style guide: colors, typography, shapes, and reusable elements.
- Define deliverables: lengths, aspect ratios, and versions up front.
| Deliverable | Best use | Notes |
|---|---|---|
| Short clip | Social feeds | Text must be large and brief |
| Explainer | Product pages | Longer script and detailed composition |
| UI asset | Apps & interfaces | Modular shapes for reuse |
Design the Visual System First: Shapes, Text, and Composition Built for Movement
Design the visual foundation first so motion stays purposeful and legible.
We set hierarchy, spacing, and safe margins before animating. Clear composition keeps graphics readable on small screens and prevents movement from becoming noise.
Lay out elements with motion in mind
We plan spacing and typography so text stays readable during shifts and scale changes. Safe areas for different aspect ratios cut rework when we export for web or social.
Create modular assets for reuse
We build icons, shapes, and text blocks as repeatable modules. That way a single graphic can become many outputs without rebuilding every time.

Prep layered files for animation handoff
We name layers clearly, group related objects, and lock dimensions. Layered files speed the design-to-video workflow and make edits fast for teams.
- Clear naming and groups
- Consistent sizes and colors
- Modular icons and background tiles
| Asset | Best use | Design detail |
|---|---|---|
| Icon set | UI micro-interactions | Single-color fills, scalable vectors |
| Text block | Social captions | Large type, short lines |
| Background tile | Looped web headers | Seamless pattern, layered depth |
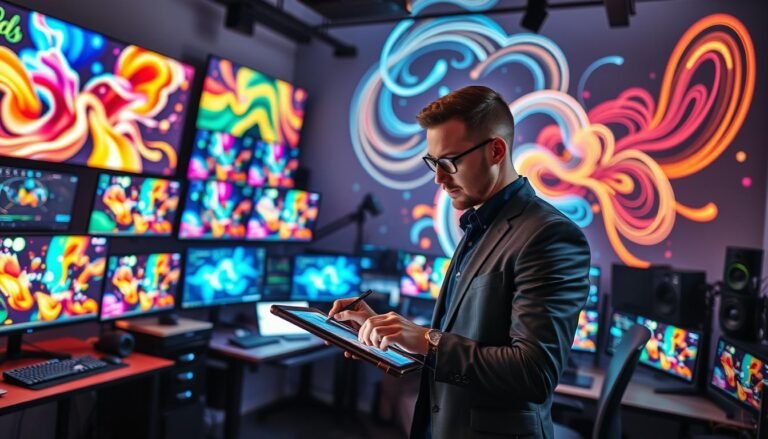
Pick the Right Tools to Create Motion Graphics (From Beginner-Friendly to Pro)
A clear toolset helps us spend less time fighting file formats and more time refining animation. We pick tools by deliverable: short social videos, UI motion, explainers, or title sequences. That keeps our budget and timelines realistic.
Fast-start options for teams
Beginner-friendly platforms offer templates, presets, and Auto Animate-style workflows. Those features let us get started fast and reduce manual keyframing.
Industry-standard toolchain
We rely on Adobe After Effects for complex animation, Premiere for editing videos, and Photoshop for raster assets. This toolchain is common because integrations save time and reduce broken layers.
- Choose a tool based on output and in-house skills.
- Use templates and presets to shorten the process.
- Follow tutorials when learning new effects or pipelines.
| Stage | Typical tool | Benefit |
|---|---|---|
| Design handoff | Figma → AE pipeline | Layers intact, fewer imports |
| Animation | After Effects | Advanced control, reusable presets |
| Final edit | Premiere | Sequence assembly and export for videos |
We make sure collaboration and revision cycles are part of the tool decision. That keeps our work predictable and efficient.
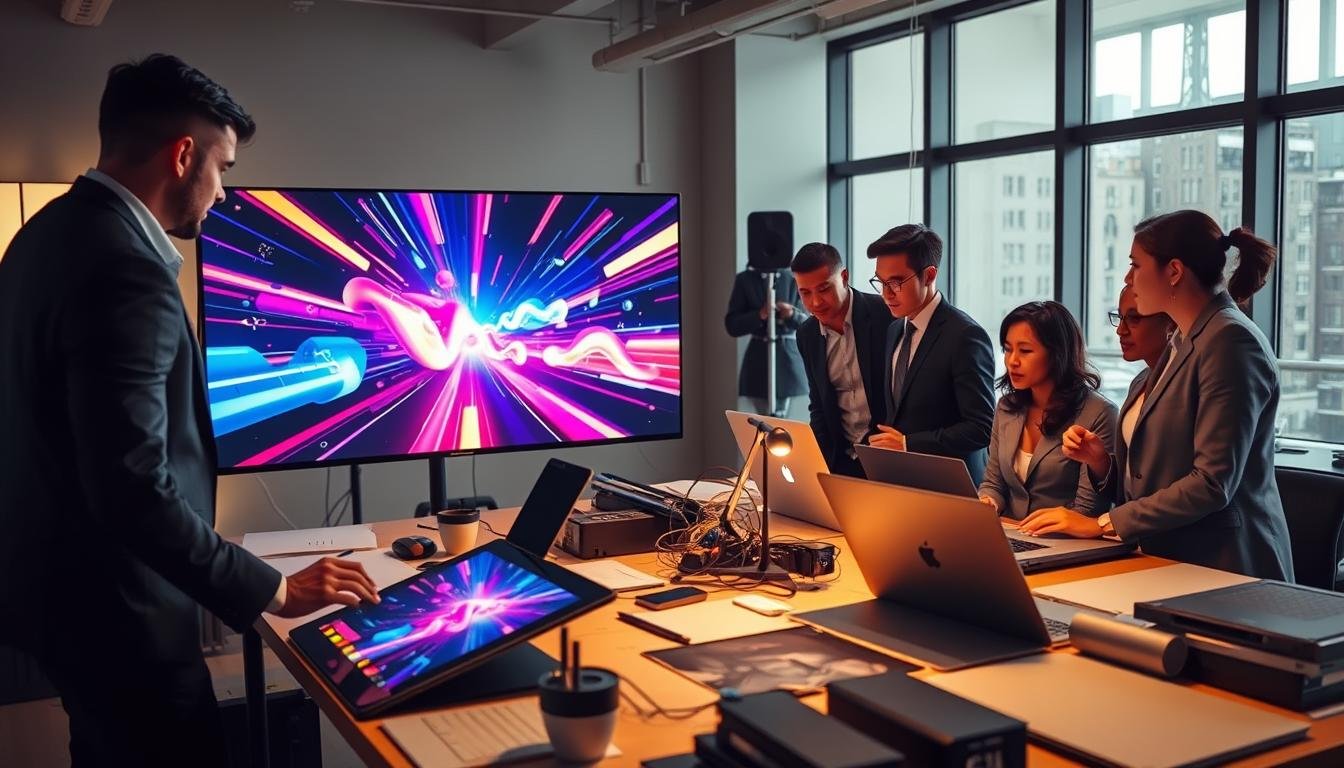
Animate in a Simple, Repeatable Workflow We Can Scale
Our workflow focuses on simple, repeatable steps that scale across teams. We map scenes, layers, and timing before we animate. That keeps edits predictable and the process efficient.
Set up the project and timeline
We define scene length for intro, main beats, and outro. We lay out layers for text, shapes, backgrounds, and accents.
Using the timeline, we sequence key moments and lock scene markers. This helps when we export multiple sizes or versions.
Block primary motion and pinning controls
First, we block position, scale, and rotation so movement reads clearly. We set timing that matches voice or music and add holds where text needs reading time.
We use pinning-style controls to mark start and end points. Pinning creates purposeful pauses without dozens of manual keyframes.
Layer movement, polish, and trends
We mix fast accents with slower background shifts to guide attention. Some elements stay static so the eye focuses where we want.
For polish, we add subtle effects like squeeze and jiggle and restrained micro-interactions. Trend choices — 3D textures, collage, illustrative looks, or minimal experiments — must match brand tone and the campaign goal.
- Set clear scene markers and layer names.
- Block main movement before adding effects.
- Use pinning for consistent start/stop behavior.
| Step | Focus | Outcome |
|---|---|---|
| Project setup | Scene length, layers | Faster revisions, consistent composition |
| Blocking | Position, scale, rotation | Readable movement, clear pacing |
| Polish | Effects, micro-interactions | Professional feel, stronger retention |
Export and Optimize Our Motion Graphic for Social Media, Web, and Email
We walk through export decisions so our animation performs across feeds, web pages, and inboxes. The goal is clear: retain visual quality while keeping file sizes low for fast load and wide compatibility.
Best file format and practical tradeoffs
MP4 is our default option. It delivers high-quality video with smaller files and broad support across social media, web players, and email clients.
When we need transparency or frame-accurate alpha, we choose other formats for source files, then export MP4 for publish-ready assets.
- Export settings: H.264 codec, 2–8 Mbps for web, higher for full-screen use.
- Sizing: vertical for reels, square for feeds, horizontal for embeds and presentations.
- Email constraints: keep length short, limit file size, and add a GIF or static fallback when needed.
Optimization checklist
| Item | Why it matters | Practical tip |
|---|---|---|
| Naming | Fast asset management | Use clear names and size tags (e.g., hero_1080x1920.mp4) |
| Compression | Load speed | Test several bitrates; prefer two-pass export |
| Captions | Accessibility and mute play | Burn-in or sidecar SRT for social uploads |
We repurpose a single motion graphic across paid ads, a website hero loop, social cuts, and slides. This approach stretches our marketing budget and keeps brand information consistent across every screen.
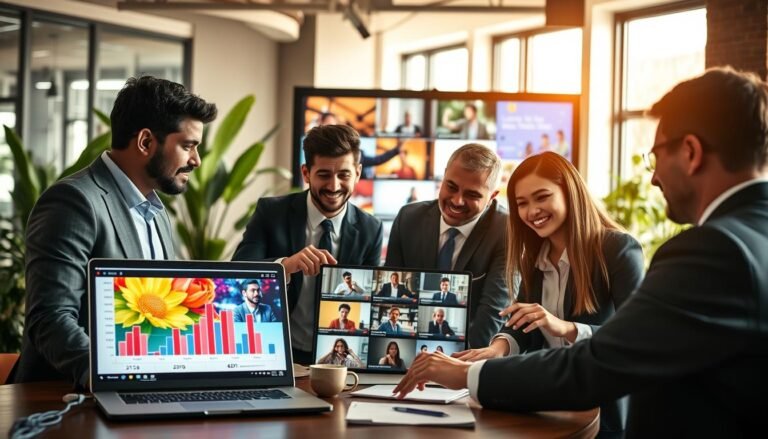
Bring It All Together: Publish, Measure Performance, and Keep Improving Our Motion Graphics
We finish by planning where each asset goes first, whether social media, the site, or an email send. We align publishing with campaign timing and make sure the work matches brand rules.
We set clear performance goals based on the project: attention, completion rates, clicks, or conversions. We then track behavior — drop-offs, rewatches, and click patterns — to see if the story and information landed or if elements distracted viewers.
Publish, learn, revise, and repurpose. After each release we run a short post-mortem: what worked, what failed, what to standardize. This keeps improvements fast and low overhead.
Over time our motion graphics help explain complex data and scale across videos and formats. With steady practice and templates, we cut time and raise quality in every piece of work.