Camera Setup for Professional Video
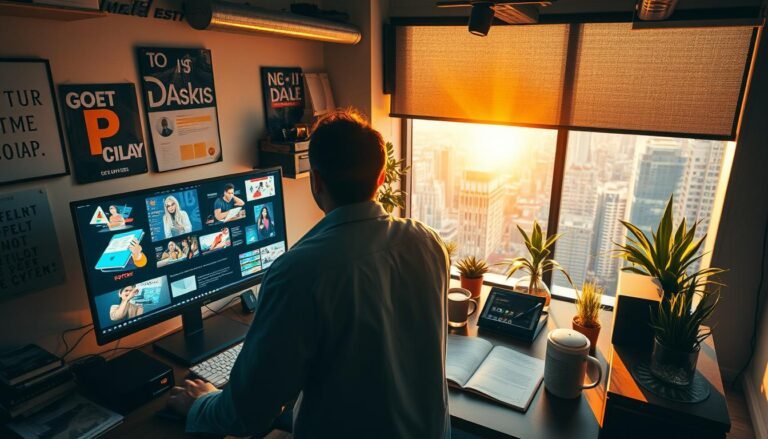
We open with a clear promise: reliable, repeatable capture that matches what US audiences expect on YouTube and streaming sites.
Modern DSLRs and mirrorless models give deep manual control. We focus on seven core settings — resolution, frame rate, bitrate, shutter speed, aperture, ISO, and white balance — so our results stay consistent.
By choosing manual over auto, we prevent mid-take exposure shifts and mismatched clips. That decision speeds editing and preserves a uniform look.
Our goal is simple: steady exposure, natural motion, clean color, stable framing, and usable audio. These practical tips apply whether we work in a studio or on location.
Next, we’ll walk through each setting in a repeatable order and explain how it affects technical data and the creative feel. We’ll also preview lighting, audio, and stabilization so the whole workflow holds up in real shoots.
Key takeaways: manual control beats auto; follow the seven-settings workflow; aim for consistent exposure and color to boost perceived quality.
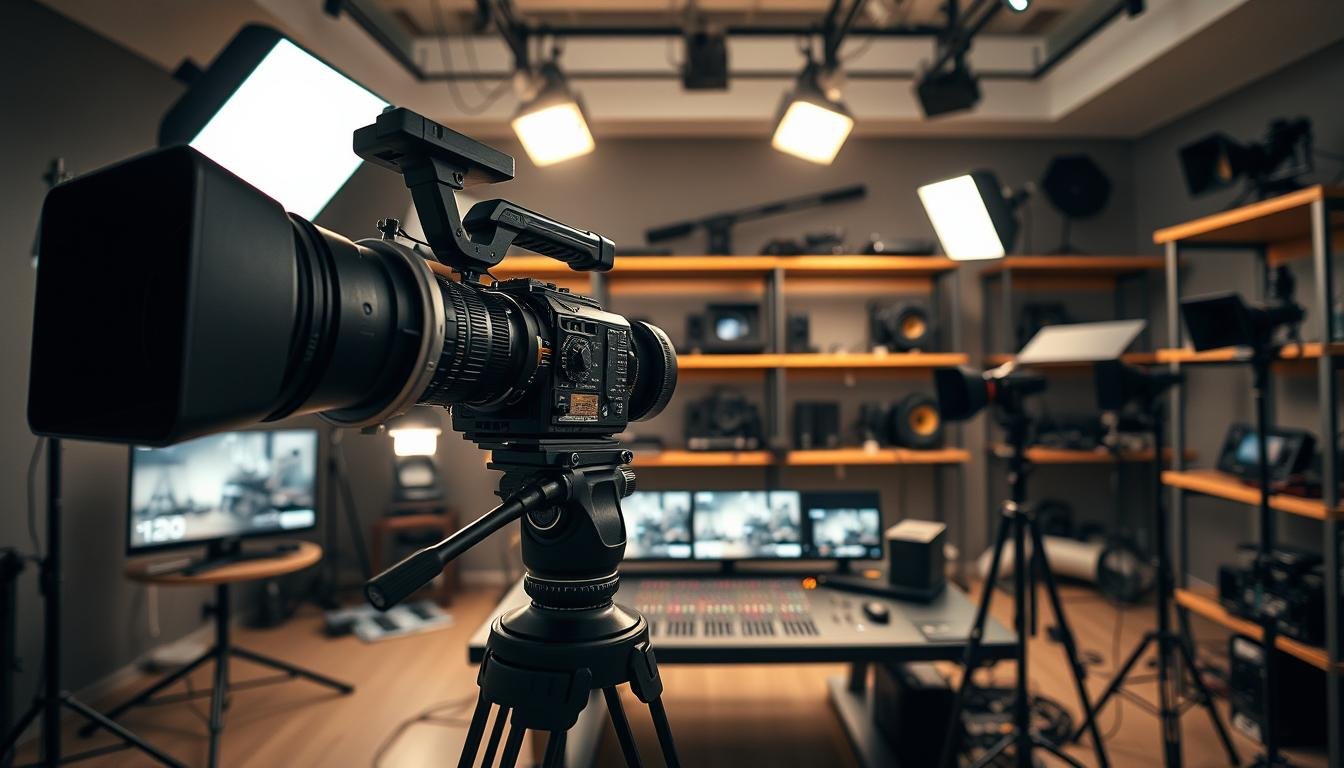
Choose the Right Camera and Recording Format for Our Shoot
The right body, sensor, and codec shape our look and workflow. We pick hardware to match the use case: web clips, interviews, events, or live streaming.
DSLR vs. mirrorless in practical terms
Mirrorless bodies are lighter and often give faster autofocus, which helps during live movement. DSLRs still offer rugged builds and a wide lens ecosystem that we may prefer for long shoots.
Sensor size and the final look
Full-frame favors low-light and shallower depth of field. APS-C and Micro Four Thirds balance cost, reach, and usable depth of field for tighter budgets and run-and-gun shoots.
- Decide our use case first so the chosen camera matches real needs.
- Pick 1080p when storage and timeline speed matter; choose 4K when reframing or stabilization is important.
- Select ProRes for smoother editing; H.264 when delivery size is the constraint.
| Sensor | Low-light | Background separation |
|---|---|---|
| Full-frame | Strong | High |
| APS-C | Good | Moderate |
| Micro Four Thirds | Balanced | Controlled |
Higher bit depth (10–12 bit) and wider dynamic range give us more grading latitude and better final quality on the finished film. Consistent choices reduce friction in editing and speed our on-set workflow.
Lock In Resolution and Frame Rates for Motion That Feels Right
Deciding resolution and frame cadence first keeps motion consistent and reduces editing headaches.
We pick 1080p as our baseline because it is the US standard for many online platforms. It balances crispness, upload time, and editing performance. 4K is useful, but it demands more storage and processing.

Why 1080p still fits most web needs
1080p looks sharp on phones and laptops. It uploads faster and strains our editors’ machines less. That improves overall video quality without extra cost.
Choosing fps that match audience expectations
24 fps reads as cinematic; 30 fps feels cleaner and more broadcast-like. For US (NTSC) delivery, 30fps is often a safe default. We avoid mixing frame rates across a project to keep the feel uniform.
When to step up to 60 or 120 fps
- Use 60 fps or 120 fps for slow-motion B-roll and fast action.
- Choose higher fps when we plan to retime footage in post.
- Remember higher frame rates raise file demands and affect lighting and shutter choices.
| Use | Common fps | Benefit |
|---|---|---|
| Cinematic scenes | 24 fps | Film-like feel |
| Web and corporate | 30 fps | Clean, broadcast feel |
| Action/slow motion | 60–120 fps | Smooth retiming |
Set Video Bitrate for Cleaner Footage Without Overloading Storage
Bitrate sets how much data each second of footage actually carries, and that choice shapes both clarity and file size.
How bitrate impacts compression, detail, and file size
Bitrate is measured in Mbps and tells us how many megabits we allocate per second. Higher rates usually reduce compression artifacts and preserve fine detail like hair, fabric, and foliage.
Not all bitrates are equal across brands. A high-bitrate 1080p clip can look better than a low-bitrate 4K file when the codec is aggressive. We always run a short test clip to confirm real-world results before the shoot.
- Define bitrate in practical terms: Mbps per second and its link to compression artifacts.
- Protect gradients, motion, and fine detail by choosing higher stable rates when possible.
- Balance storage tradeoffs: larger files increase card, offload, and backup time and affect editing responsiveness.
- Pick the highest stable rate our media and workflow can handle, then validate with tests.
| Use | Bitrate priority | Why it matters |
|---|---|---|
| Interviews | Medium | Clean image and fast editing |
| Action B-roll | High | Preserve motion detail |
| Quick web clips | Balanced | Storage and upload time |
Dial In Shutter Speed for Natural Motion Blur
When we dial shutter timing, we decide between crisp staccato motion and smooth, natural blur.
The shutter speed controls how much motion blur appears in each frame and also affects exposure. It is one of the biggest “feel” levers we set before a take.
The 180-degree rule: double the fps
To keep motion natural, we follow the 180-degree rule and set shutter to about double our fps. That gives movement the soft blur viewers expect.
Practical targets to memorize
- 24 fps → 1/48 (or 1/50 if 1/48 isn’t available)
- 30 fps → 1/60
- 60 fps → 1/120
How changing shutter alters the look
A faster shutter makes motion look choppy and sharp; a slower shutter makes it smeary and soft. Small deviations can fix flicker under artificial lights, but avoid changing shutter mid-scene.
| fps | Typical shutter | Perceived motion |
|---|---|---|
| 24 | 1/48 or 1/50 | Film-like, natural blur |
| 30 | 1/60 | Clean, broadcast feel |
| 60 | 1/120 | Good for slow motion and retiming |
Once we set shutter for the desired motion character, we manage exposure with aperture, lighting, and ISO rather than altering shutter during a take.
Shape the Look With Aperture and Depth of Field
Aperture shapes both exposure and the sense of space in every shot we make. It controls how much light hits the sensor and it defines the zone of sharpness that separates subject and background.
How aperture controls light and the blurrier background effect
Wider apertures create a blurrier background and stronger subject separation. That blur can make a shot feel more cinematic and draw attention to faces or small details.
Keeping subjects sharp: depth of field decisions
We set depth of field to keep eyes and movement in clear focus. For interviews, choose an aperture that holds the eyes sharp even with slight head turns. If we expect motion, stop down a bit to reduce missed focus and reshoots.
When shallow depth helps—and when it distracts
Shallow depth field highlights subjects and cleans messy backgrounds. But across long-form film, too much blur strains continuity and can fatigue viewers. Use blur strategically and pair it with lighting to control attention.
- Define aperture as exposure plus a creative tool that shapes the look.
- Consider lens focal length: longer lenses increase background compression and blur at the same f-stop.
- If focus pulling is limited, choose a safer aperture to protect usable takes.
Balance Exposure With ISO Without Adding Noise
We treat ISO as the final dial in the exposure triangle, not the first. Shutter and aperture set motion and depth, then we use ISO only to reach proper exposure.

Using the exposure triangle: shutter, aperture, ISO
Lock shutter for the motion you want. Pick aperture for depth and subject separation.
Only then raise ISO to the minimum value that yields clean exposure.
Keeping ISO low for image quality and cleaner shadows
Higher ISO brightens electronically but adds noise. Noise shows up in shadows as grain, blurred detail, and muddier color after compression.
When we should add light instead of boosting ISO
If shadow quality suffers, we add light or change modifiers rather than push ISO. Boost ISO only when lighting control is impossible or the scene requires high frame rates and fast shutter.
- Workflow: set shutter → choose aperture → add light → raise ISO minimally.
- On-set check: monitor dark areas like hair, clothing, and corners for noise before long takes.
- Post tip: cleaner exposure cuts grading time and improves final image quality.
| Scenario | Recommended ISO | Action |
|---|---|---|
| Interview with controlled lights | 100–400 | Add fill or open aperture |
| Run-and-gun indoor | 800–1600 | Use fast lens and practicals; accept slight noise |
| Low-light fast action | 1600–3200 | Increase light if possible; otherwise raise ISO and plan denoising |
Set White Balance and Color Temperature for Consistent Skin Tones
Accurate white balance keeps skin tones true and prevents color shifts between angles. We lock this early so the color does not change mid-take and force fixes in post.
Prevent blue casts and overly warm footage
Incorrect balance makes skin look too blue or too orange. That difference becomes obvious when we cut between shots.
Presets vs. Kelvin — choosing speed or precision
Presets (daylight, cloudy, tungsten) are fast and reliable in controlled light. Manual Kelvin is more repeatable across cameras when we need exact control.
Kelvin basics and common baselines
Use about 3200K for tungsten interiors and about 5600K for daylight sources. These anchors help us match multiple fixtures and keep the subject consistent.
Handling mixed lighting
- Gel warmer lamps or gel windows toward tungsten to match daylight.
- Block unwanted spill and use adjustable RGB LEDs to tune each source.
- Lock the white balance rather than leaving it on auto so the camera won’t hunt.
Quick verification habit: check a gray card or a white shirt and confirm skin tones on a monitor before we roll. This small step saves grading time and keeps the final look consistent.
| Source | Kelvin | When to use |
|---|---|---|
| Tungsten lamp | ~3200K | Warm interiors; gel daylight if mixing |
| Window/daylight | ~5600K | Natural light scenes; match fixtures to this |
| Mixed sources | Adjust or gel | Use RGB or gels to balance |
Build a Professional Lighting Setup That Elevates Video Quality
Properly placed lights turn flat footage into a polished, three-dimensional shot.

We start with three-point basics: place the key at about 45 degrees to shape facial form. Add a fill on the opposite side to soften harsh shadows. Use a backlight to lift the subject off the background and create depth.
Modifiers that shape the look
Softboxes and diffusers tame harsh beams and flatter skin. Reflectors bounce gentle light when we want subtle fill without another fixture. Hard light adds drama; soft light keeps faces forgiving.
Creative control and contrast
Practical lamps in frame add realism. Rim light polishes edges and improves separation. Negative fill increases contrast by blocking unwanted spill and deepening shadows.
Quick wins to improve exposure and results
- Move the subject a few feet from the wall to avoid flat backgrounds.
- Control spill with flags and simple modifiers.
- Add a small accent light to prevent empty, flat walls.
| Technique | Benefit | When to use |
|---|---|---|
| Three-point | Depth and separation | Interviews and controlled shots |
| Soft modifiers | Flattering faces | Close-ups |
| Negative fill | Stronger contrast | Dramatic portraits |
Good lighting lets us keep ISO low, protect color, and get cleaner results in post. Small changes to light often give bigger returns than swapping lenses.
Capture Clean Audio and Keep the Shot Stable
Sound clarity and stable framing often matter more than the sharpest image. We treat both as core craft, not afterthoughts, because viewers forgive modest visuals but not poor sound.
Why sound matters
Good audio raises perceived quality and keeps viewers watching. Bad sound drives people away within the first few seconds, even when the picture looks great.
Choosing the right microphones
Match mic type to the scene: shotgun mics give directional pickup, lavalier mics lock onto dialogue, and condenser mics work well in controlled studio desks. Place the mic correctly, set safe levels to avoid clipping, and monitor with headphones so we catch issues in real time.
Stabilize motion with the right tools
Tripods give rock-steady shots for interviews. Gimbals smooth walking takes and stabilizers help run-and-gun work. Stable framing supports natural motion and complements our shutter speed and speed choices.
Use external monitors to confirm focus and exposure
Small built-in screens lie. An external monitor helps us nail focus, composition, and exposure before we roll.
- Prioritize sound capture chain and headphone monitoring.
- Choose support based on the intended motion.
- Use a monitor to validate focus and exposure quickly.
| Mic | Use | Benefit |
|---|---|---|
| Shotgun | Outdoor or directional | Cleaner dialogue pickup |
| Lavalier | Interviews | Consistent levels |
| Condenser | Studio/desk | High fidelity sound |
Wrap the Setup With Power, Storage, and a Pre-Record Checklist
.
A short power and media run-through keeps long days from turning into lost footage.
We use a one-minute checklist to lock resolution, fps, bitrate, shutter speed, aperture, ISO, and white balance. Then we run a quick test clip to confirm motion and exposure.
Storage matters: confirm card capacity, media speed, and SSD offload plan so footage never stalls the day. Power matters too: charge batteries, bring V-mount spares, and use AC or UPS for long stationary shoots.
Check lighting and light placement for color consistency, secure tripods or gimbals, and set external monitors for focus and exposure. Finally, name files clearly and back up immediately so editing starts with predictable results.